Your living room walls are a blank canvas waiting for the right treatment. Whether you’re drawn to bold gallery arrangements, minimalist design, or sustainable art installations, wall decor sets the mood for the entire space. The key is moving beyond generic posters and creating a thoughtful display that reflects your lifestyle and anchors your room’s design. This guide walks you through selecting the right style, planning layouts, tackling DIY projects, and installing everything properly, so you can transform your walls without hiring a designer.
Table of Contents
ToggleKey Takeaways
- Wall decor for living room should reflect your personal style and complement existing furniture, flooring, and paint color to create a cohesive design.
- Gallery walls require proper spacing (1.5–2 inches between frames) and odd-numbered arrangements for visual impact, with frames centered at eye level (57 inches from floor).
- DIY wall art projects like painted canvas panels, macramé hangings, and pressed botanical displays deliver professional results in a weekend for under $20.
- Sustainable wall decor options including reclaimed wood, plant-based textiles, and upcycled thrift finds align style with environmental values without sacrificing aesthetics.
- Proper installation using studs, appropriate anchors based on weight, and a spirit level ensures frames stay secure and aligned, while quarterly dusting and UV protection maintain long-term appearance.
Choose the Right Wall Decor Style for Your Space
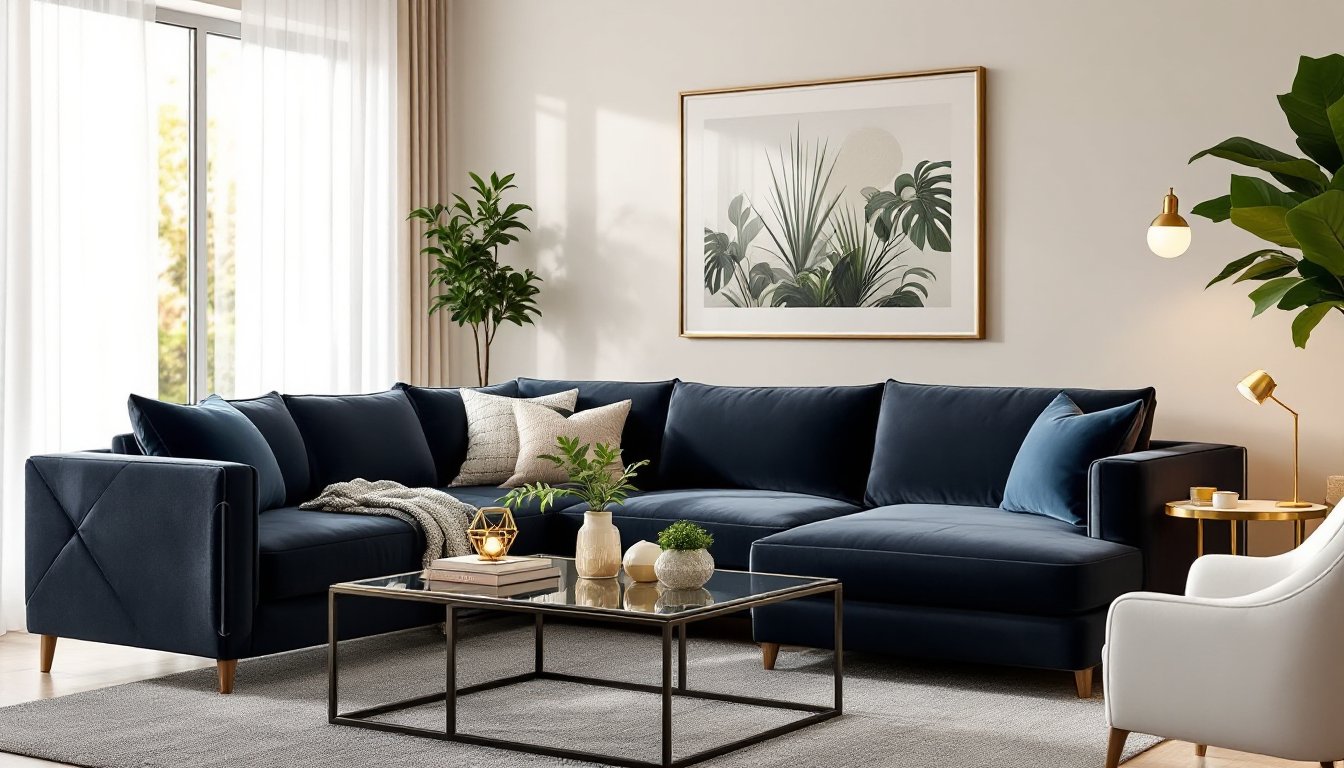
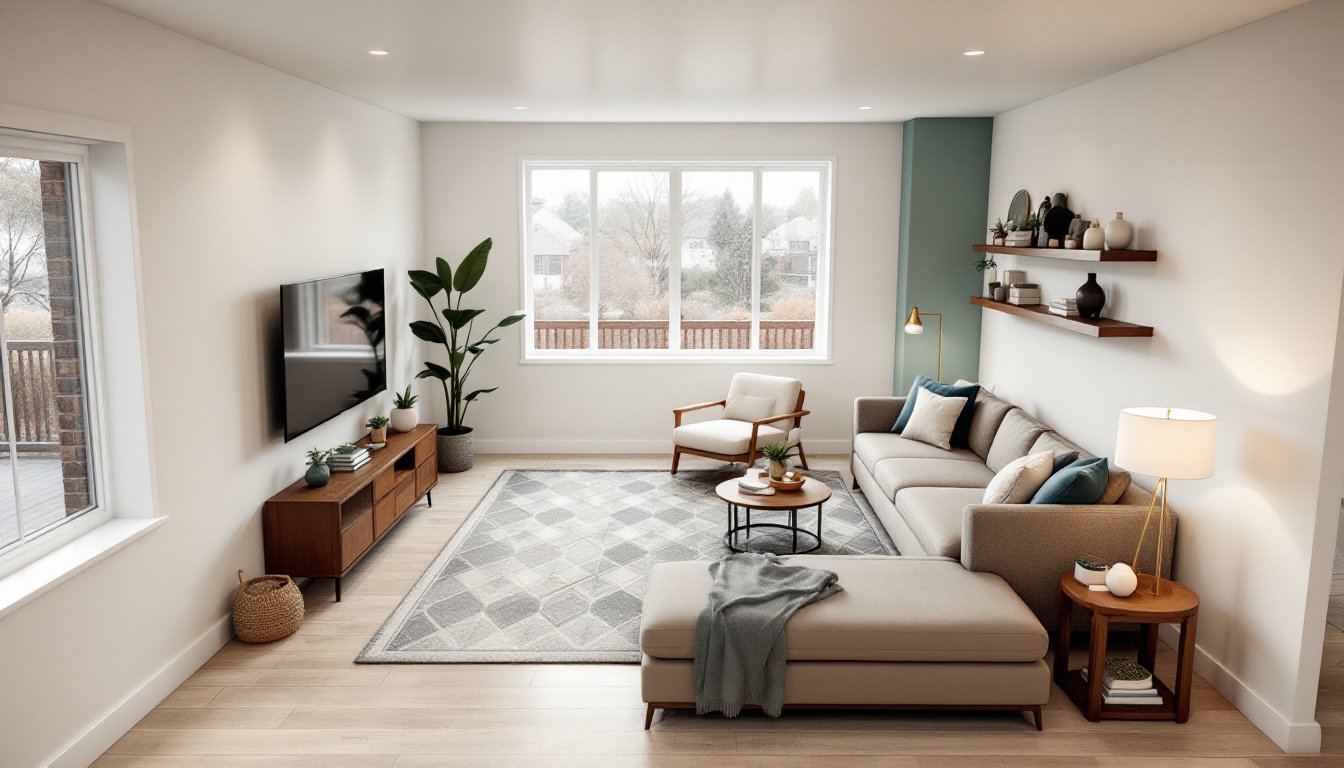
The first step is matching your decor to the room’s purpose and your personal taste. Start by assessing existing furniture, flooring, and paint color. Does your sofa lean modern, traditional, or eclectic? Your wall decor should harmonize with these anchors.
Minimalist designs work well in calm spaces, think single large statement pieces or a pair of simple framed prints. This approach lets furniture and lighting do the work. Gallery walls suit open-minded decorators who enjoy collecting and rotating art. Textured pieces like woven wall hangings or 3D sculptural elements add depth to flat surfaces. Botanical and nature-inspired decor brings organic warmth without visual clutter.
Consider your room’s lighting. North-facing rooms benefit from warm-toned frames and bright matting to reflect available light. South-facing spaces can handle darker, more saturated artwork. Paint color matters too, light walls make dark frames pop, while darker walls require bolder color blocking to avoid disappearing into shadow. Don’t rush this step: grab some sample pieces and live with them for a few days.
Gallery Wall Layouts and Arrangement Techniques
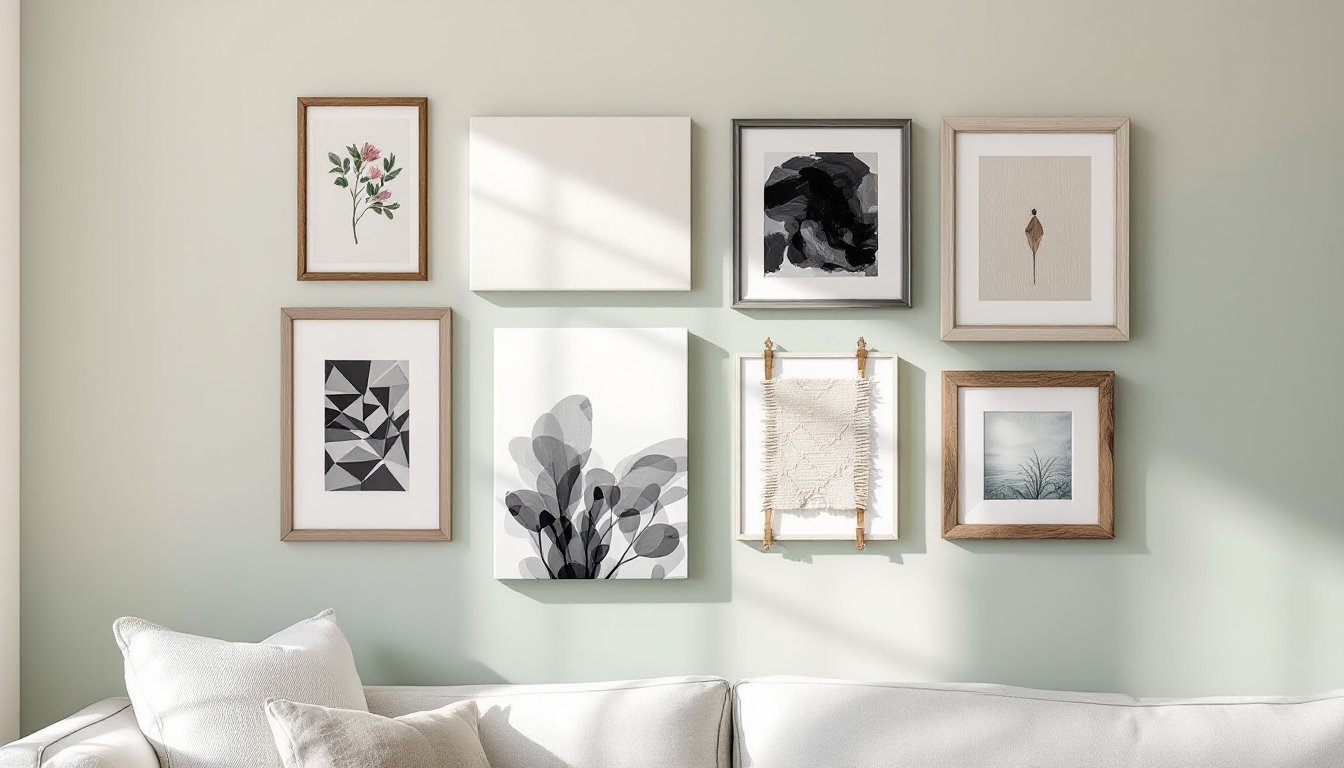
A gallery wall feels custom but follows logical spacing principles. Begin by laying all frames on the floor in your desired arrangement. This no-drill preview prevents costly mistakes and wasted wall space.
For a salon-style gallery, arrange frames in a loose cluster with 1.5 to 2 inches between frames as your spacing guide. Odd numbers of pieces (5, 7, 9) feel more dynamic than even counts. Vary frame widths and orientations, mix portrait and landscape, to create visual rhythm.
For a grid layout, measure equal spacing between frame centers and snap chalk lines to mark stud locations before drilling. This method works especially well in modern spaces and small rooms where precision matters.
Measure from the center of the wall to your eye level (roughly 57 inches from the floor) to hang artwork at the standard height. Group walls benefit from this benchmark down the center, with pieces radiating outward. Use a level and painter’s tape, not just eyeballing, to ensure plumb alignment.
Designers at House Beautiful often recommend mixing media within a gallery: photography, prints, textiles, and even shallow floating shelves create layered interest. Budget for quality picture-hanging hardware rated for your frame weights. Cheap hooks inevitably disappoint when a frame crashes at 2 a.m.
DIY Wall Art Projects You Can Create This Weekend
You don’t need a fine arts degree to create gallery-quality pieces. Several projects deliver professional results with hand tools.
Painted canvas panels are the fastest route. Grab pre-stretched canvases (16″ × 20″ or 24″ × 36″ are popular sizes) and acrylic paint. Geometric patterns, color blocking, or abstract brushwork take 2-3 hours and cost under $20 in materials. Seal finished pieces with a matte or gloss acrylic sealer to protect against dust and moisture.
Macramé wall hangings appeal to those seeking texture. Macramé cord in 4mm to 6mm cotton or jute knots into diamond patterns, fringe details, or geometric designs. YouTube tutorials abound: plan for a weekend project if you’re new to knotting. Mount finished pieces on driftwood branches or simple dowels.
Pressed botanical displays combine craft with nature. Collect leaves, flowers, or grasses in spring and summer, press them between newspaper under heavy books for 2-3 weeks, then mount on mat board inside shadow boxes. These photographs beautifully and honor sustainable gathering.
Always start with a test piece if you’re experimenting with techniques like stenciling or spray-painting. Protect surrounding walls with plastic sheeting and work in ventilated spaces when using paint or finish products. Wear nitrile gloves and eye protection when handling adhesives or sprays.
Sustainable and Eco-Friendly Wall Decor Options
Environmentally conscious decorating doesn’t mean sacrificing style. Many sustainable options are budget-friendly and beautiful.
Reclaimed wood wall features use salvaged barn wood, old doors, or flooring offcuts arranged in shiplap or chevron patterns. Source materials from architectural salvage yards or careful deconstruction sites. Seal raw wood with low-VOC (volatile organic compound) finishes to prevent off-gassing in your living room.
Plant-based textile art, wall hangings made from organic cotton, linen, or hemp, skip synthetic dyes and plastic backing. Look for manufacturers using natural dyes and traditional weaving techniques. These pieces soften acoustics while adding visual warmth.
Repurposed thrift finds like vintage mirrors, old window frames, or forgotten metalwork become statement pieces with minimal processing. Frame thrifted posters or prints instead of buying mass-produced reproductions. Elle Decor frequently celebrates upcycled interiors where found objects anchor gallery walls.
Paper-based art, letterpress prints, handmade paper pieces, or pressed botanicals, avoids plastic framing materials. Pair sustainable art with FSC-certified frames made from responsibly harvested wood. This approach aligns decor with values without compromising aesthetics.
Proper Installation and Maintenance Tips
Installation quality determines longevity. Careless hanging leads to marks, damage, and reshuffling frustration.
Before drilling, locate studs using a stud finder ($15–$30 for a basic magnetic or electronic model). Wall anchors work for lighter frames, but studs provide confidence for heavier pieces or gallery arrangements. Mark stud locations lightly with pencil.
Choose hardware based on frame weight. Standard drywall anchors hold frames under 15 pounds: toggle bolts or screw-in anchors support 25–50 pounds. Tile, plaster, or masonry walls require different anchors, don’t assume standard hardware will grip securely. When in doubt, consult a hardware specialist or test in a non-visible spot first.
Use a level on every frame, even if it looks plumb by eye. Spirit levels ($10–$20) prevent that frustrating slightly-off tilt that nags forever. Mark frame centers with painter’s tape on the wall before drilling to avoid misalignment.
Maintenance is minimal but important. Dust frames and artwork quarterly using a soft microfiber cloth or brush to prevent grime buildup that dulls finishes. Avoid direct sunlight on fine art or textiles, UV exposure fades colors and weakens fibers. Research on living room wall decorating ideas shows that rotating seasonal pieces keeps spaces fresh without permanent commitment.
Check anchors and hardware annually, especially in humid bathrooms or kitchens near living spaces. Tighten loose screws early before frames shift dangerously.
Conclusion
Transforming your living room walls is achievable with thoughtful planning and honest assessment of your space. Start by choosing a style that complements existing furniture, invest time in layout arrangement, and don’t skip surface prep or installation best practices. Whether you’re building a gallery wall, framing DIY art, or embracing sustainable options, the result reflects intentional design, not accident or afterthought. Your walls will anchor the room’s character for years to come.