Ever found yourself in a picture-perfect moment but without anyone to snap the shot? Fear not! The iPhone’s timer feature is here to save the day, turning those awkward selfies into stunning group photos without the need for a professional photographer. It’s like having a personal assistant who doesn’t complain about working overtime.
Table of Contents
ToggleUnderstanding The Timer Function
The iPhone’s timer feature enhances photography by allowing individuals to capture images independently. This function accommodates a variety of situations, whether it’s a solo snapshot or a group photo.
What Is The Timer Function?
The timer function allows users to delay the shutter release. Activating this feature leads to a countdown before the camera captures the photo. Options typically include a 3-second or 10-second delay, providing enough time to prepare. By using this feature, users can set up the perfect shot without rushed movements.
Benefits Of Using The Timer
Using the timer function offers several advantages. First, it ensures users can compose their shots thoughtfully. Secondly, the timer helps eliminate camera shake caused by pressing the shutter button. Group photos benefit significantly as they allow all participants to join the frame. Finally, the timer provides flexibility to adjust poses and expressions, resulting in more candid and natural images.
Setting Up The Timer On Your iPhone
Setting the timer on an iPhone makes taking photos easier and more fun. Users can capture moments with precision and prepare themselves before the shutter snaps.
Accessing The Camera App
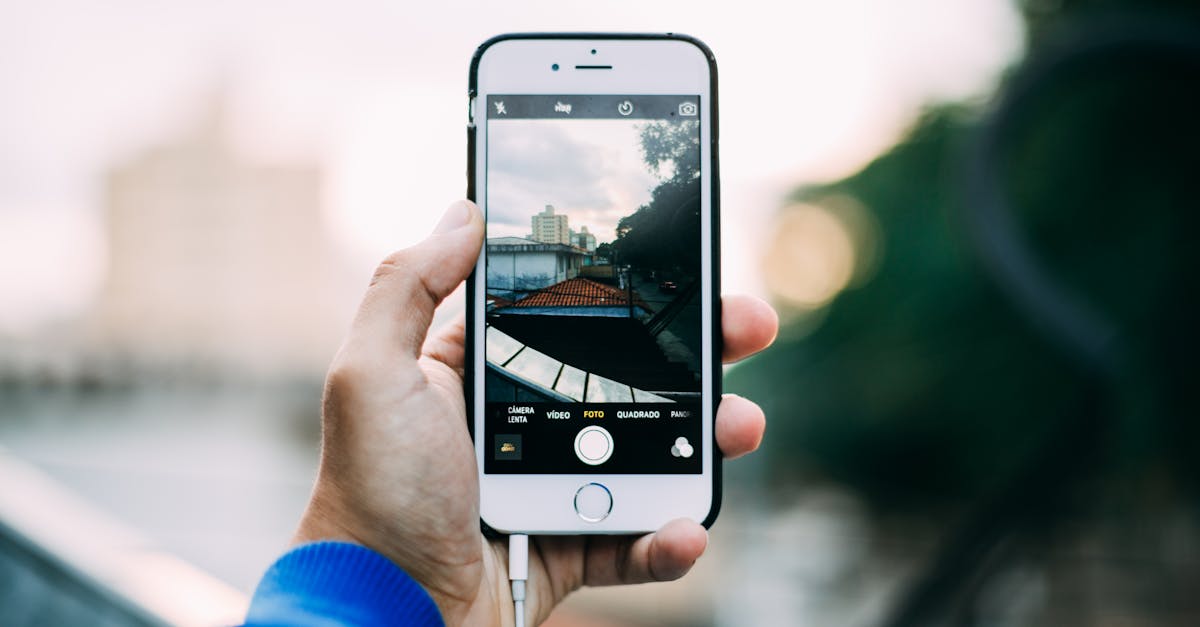
To start, locate the Camera app on the home screen. Tapping the icon opens the camera interface. Users can also swipe left from the lock screen for quick access. This action unveils the most recent mode used, often the photo mode, setting the stage for timer activation.
Selecting The Timer Option
Next, focus on the timer icon located at the top of the screen. Tapping the clock symbol reveals timer options. Users can choose either a 3-second or 10-second delay, depending on personal preference. Selecting a time allows users to compose their shot more thoughtfully and prepare for the photo moment. Once the timer is set, the camera captures the image automatically after the countdown ends.
Taking Photos With The Timer
The timer feature on the iPhone enhances photography, making it easier to capture well-composed images. By taking advantage of this function, users can create stunning photos without assistance.
Choosing The Right Settings
Selecting the appropriate timer settings is crucial for optimal results. Users can choose between a 3-second and a 10-second countdown. A shorter countdown works well for quick shots, while the longer option allows time for positioning or adjusting the scene. Depending on the desired effect, they might select a setting that complements their composition. For group photos, a longer timer generally provides sufficient time for everyone to get into position.
Positioning Your iPhone
Positioning the iPhone correctly significantly impacts photo quality. Users should find a stable surface or utilize a tripod for steady shots. Experimenting with angles enhances visual interest, encouraging creativity in framing. When taking selfies or group pictures, it’s helpful to ensure that the camera captures everyone clearly. Adjusting the height of the iPhone, based on the participants, adds an inviting perspective. A well-placed iPhone combined with thoughtful composition creates memorable, engaging photos.
Tips For Perfect Timer Photos
Taking stunning timer photos requires attention to detail and experimentation. Users can enhance their photography skills by considering various techniques.
Experimenting With Angles
Changing angles can drastically affect the outcome of photos. Try snapping pictures from high viewpoints or lower perspectives to add depth. Different angles can highlight unique features or create engaging compositions. Users might find that an off-center position leads to more artistic shots. Capture images at eye level for familiar yet compelling visuals. It’s beneficial to take multiple shots from various angles to select the best later. Each angle can reflect distinct emotions or messages in the picture, making experimentation worthwhile.
Using A Tripod Or Stable Surface
Stability is crucial for crisp, clear images. Using a tripod can minimize camera shake, resulting in sharper photos. Positioning the iPhone on a flat, stable surface also works well for steady shots. Avoid shaky hands by ensuring the device remains fixed during the countdown. Select a sturdy table or ledge if a tripod isn’t available. Users can also utilize natural elements like trees or walls for support. Properly securing the device helps maintain focus on the subject without unwanted blur. Balancing the camera’s position aids in capturing more balanced and visually appealing photos.
Using the timer feature on an iPhone opens up a world of possibilities for capturing stunning photos. It empowers users to include themselves in group shots and experiment with various angles for more dynamic compositions. By following the steps outlined and considering the tips provided, anyone can elevate their photography game.
With a little practice and creativity, the timer function can transform ordinary moments into cherished memories. Embracing this tool not only enhances the quality of photos but also encourages users to explore their artistic side. So grab that iPhone and start snapping those perfect shots with confidence.